11 Exporting static images
11.1 With code
Any plotly object can be saved as a static image via the orca() function. To use it, you’ll need the orca command-line utility (CLI). This CLI can be installed via node.js, conda, or a standalone binary from https://github.com/plotly/orca/releases. Figure 11.1 demonstrates how orca() can generate a svg (or pdf) that can then be imported into Adobe Illustrator for post-processing. Although it’s a nice option to have, importing into Adobe Illustrator might not enable as nice of a workflow as using plotly’s native support for editable layout components in the browser, then exporting to svg/pdf (as shown in Figure 12.1).
FIGURE 11.1: Using the orca() function to export a WebGL/Canvas based plotly graphic to a static pdf file. The resulting pdf file can then be imported into Adobe Illustrator for post-processing. For the interactive, see https://plotly-r.com/interactives/orca.html
11.2 From a browser
Exporting an image from a browser is a nice option if you need to perform edits before exporting or if you’d like others to share your work. By default, the ‘download plot’ icon in the modebar will download to png and use the height and width of the plot, but these defaults can be altered via the plot’s configuration:
plot_ly() %>%
  config(
    toImageButtonOptions = list(
      format = "svg",
      filename = "myplot",
      width = 600,
      height = 700
    )
  )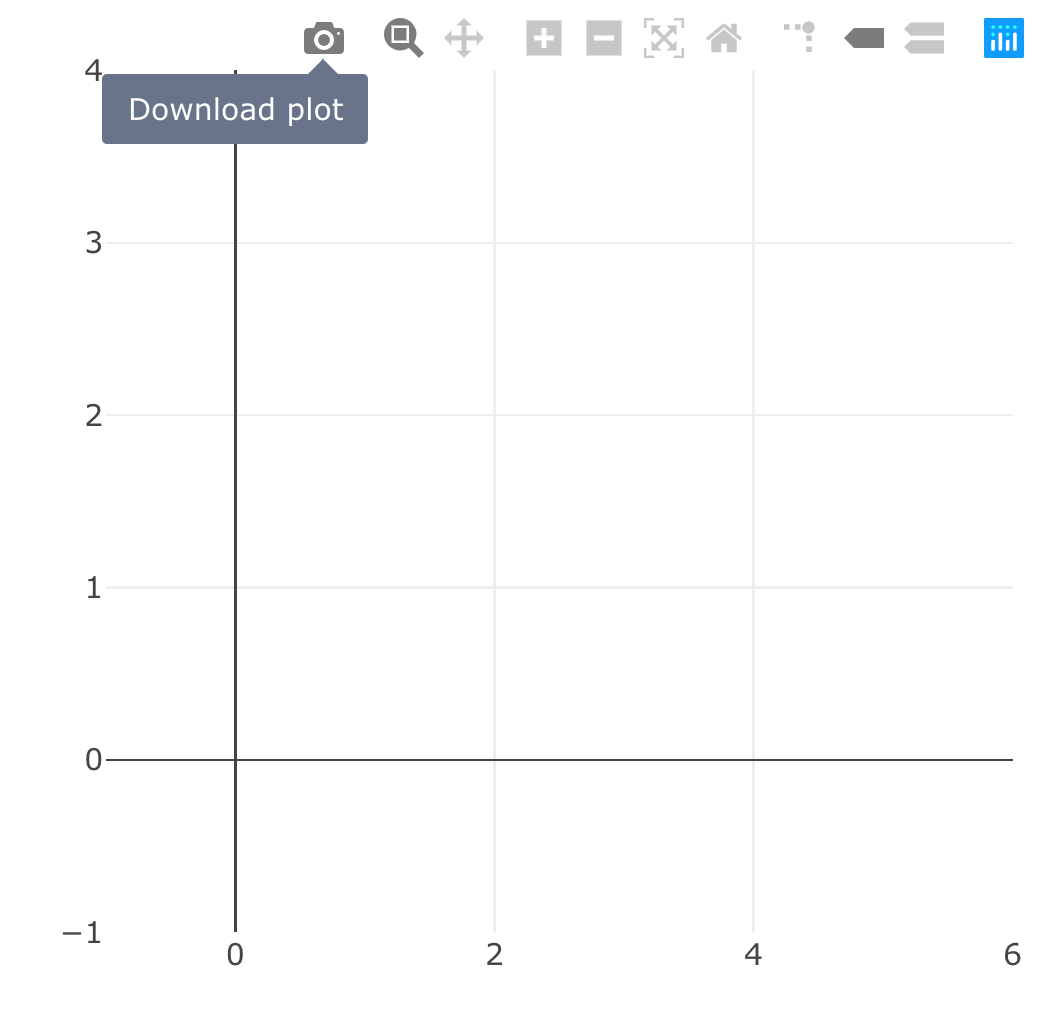
FIGURE 11.2: Specifying options for static image exporting via the modebar. Clicking on the ‘download plot’ icon should prompt your browser to download a static svg file named ‘myplot.svg’.
11.3 Sizing exports
It’s worth noting that the height and width of a static image must be specified in pixels, which is intuitive for most file formats (png, jpeg, svg, etc) but when exporting to pdf, you might want to specify the size in inches. If you multiply the DPI of your machine’s display by the number of inches you want, you’ll get the desired result. So, if you want a 8x11 pdf, and are on a typical 96 DPI display, you can do:
On the other hand, if you’re performing interactive editing and exporting, you may want to set a fixed size for the plot: